How to Create an Event
Last updated: August 5, 2026
Creating an event takes less than a minute. You choose a title and date, get a shareable link, and decide what your guests are allowed to do. Everything you pick here can be changed later in the event settings.
1. Open EventPics and tap "Create event"
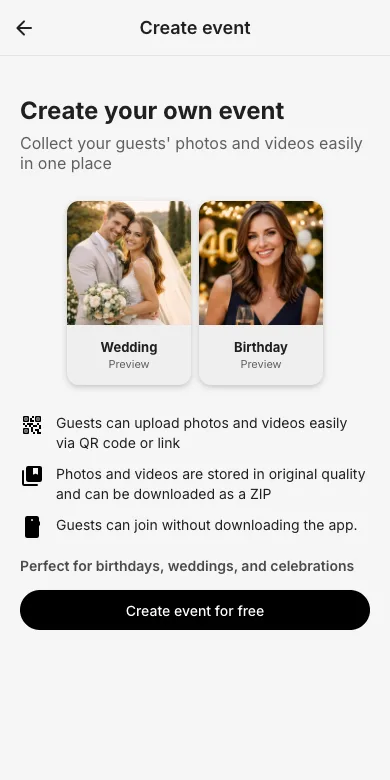
Open event.pics/w in any browser. On the start screen, tap the Create event card. You will see a short overview of what an event includes: a QR code and link for guests, original-quality storage, and a ZIP download of everything.
2. Sign in or register
An account is required so your event stays securely stored and remains accessible. If you are not signed in yet, the app asks you to register first. Email registration takes a moment and requires a quick email confirmation. See the sign-in guide for details.
3. Step 1: Title and date
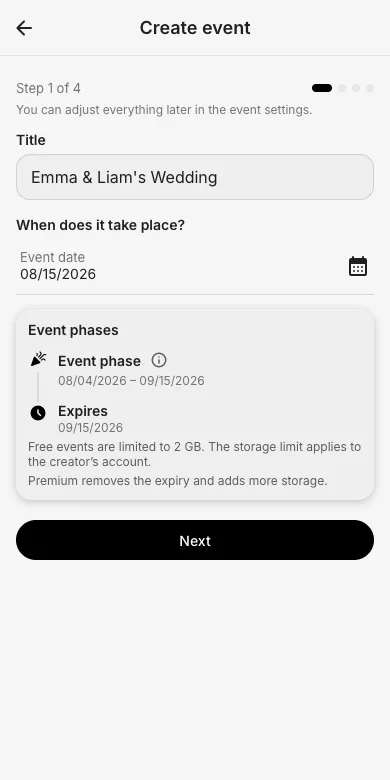
Give your event a name (for example "Emma & Liam's Wedding") and pick the event date. The app shows you the resulting event phases: how long uploads run and when a free event expires.
4. Step 2: Your event link
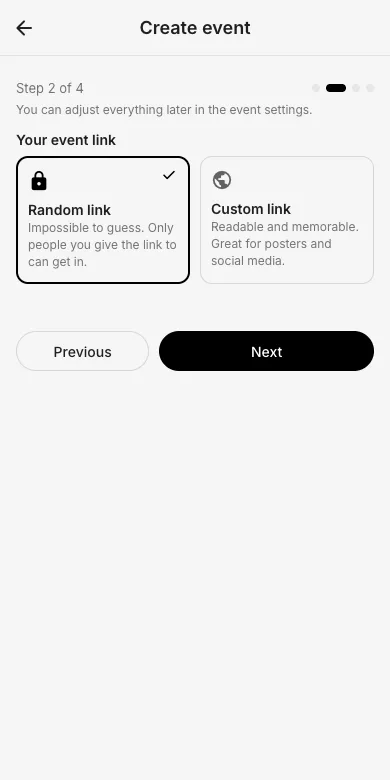
Choose between a random link (impossible to guess, only people you invite can get in) and a custom link (readable and memorable, great for posters and social media).
5. Step 3: What can guests do?
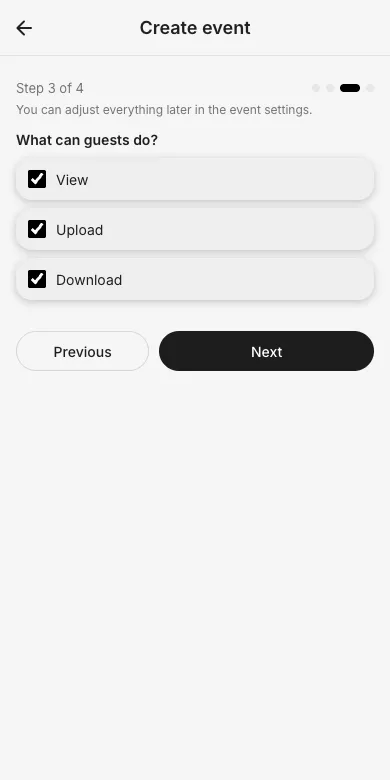
Tick what guests are allowed to do: View, Upload and Download. A typical wedding setup allows all three; if you prefer that guests only contribute photos without seeing each other's pictures, allow Upload only. You can fine-tune this per album later, see permissions.
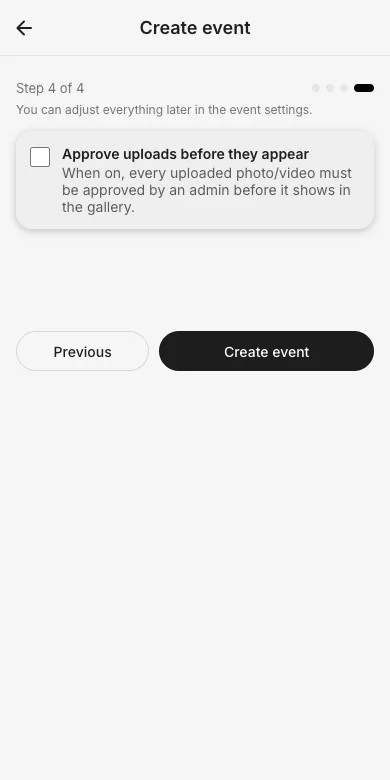
6. Step 4: Upload approval (optional)
Turn on Approve uploads before they appear if every photo and video should be reviewed by an admin before it shows in the gallery. Then tap Create event. More on this in the upload approval guide.
7. Done, your event is live
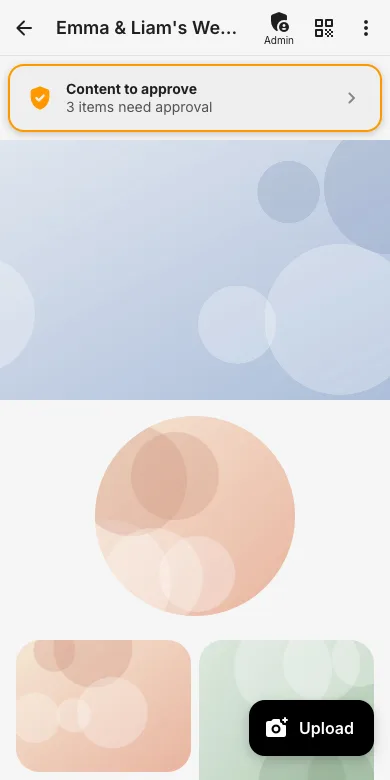
Your event opens right away. The info card points you to the admin area, where you can set a profile and cover image, print the QR code, create additional access codes and manage admins.
Try it yourself
EventPics is free to start: 2 GB storage, unlimited guests, no app needed.
Open EventPics